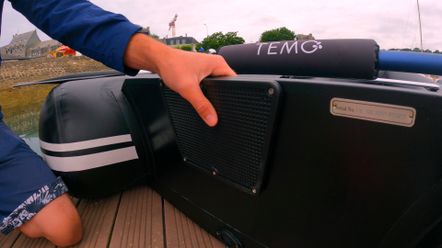
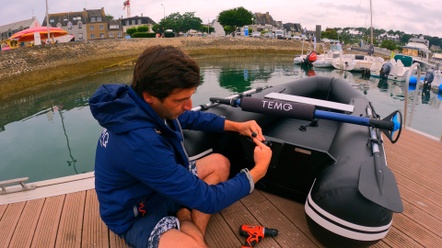
The TEMO·450 is an electric outboard motor for dinghies and small sailing boats. One of the reasons why our electric outboard motor is so straightforward and easy to install is the rowlock that comes with it. Here, we present a short tutorial to show you how to install a TEMO rowlock on a small RIB.
In the video associated with this article, we install the rowlock attachment to a 3D TENDER model that has a wooden transom. To do this, you need the screw kit that comes with our electric outboard motor, a screwdriver and of course the rowlock.

Make sure you check beforehand that you can drill into your transom. You must not drill a transom that has a watertight function. If this is the case, a wooden board or other support must be used. On the 3D TENDER transom there is no problem, as it is a wooden transom with a plastic outboard pad.
Dans le sachet de vis fourni, vous trouverez des vis perforantes et traversantes. Si vous avez un tableau en bois, les vis perforantes feront largement l’affaire. Ensuite, le positionnement de l’interface de dame de nage sur l’annexe est très important. Ne pas positionner l’interface sur le haut de l’annexe (lorsque c'est possible) parce que vous allez donner un angle inutile au TEMO·450. Mettez-vous en haut de votre tableau et assurez-vous que le TEMO·450 peut être relevé à l'horizontale pour sortir l'hélice de l'eau quand vous arrivez sur la plage.
Ensuite, on vous conseille de faire quelques tests avant de la fixer. Trouvez la position idéale où vous êtes le plus à l’aise pour manier le moteur. Vous n’êtes pas obligé de le fixer au centre du panneau arrière, cela pourra vous apporter un confort additionnel de dégagement. Vous trouverez la vidéo tutoriel sur notre chaîne YouTube TEMO France.

The rowlock allows the TEMO·450 to be raised horizontally and lowered into the water as required. Its pivot point gives the electric motor a wide range of movement from right to left. Finally, the knob allows the motor to be secured once it is installed. That's it, you're ready to go!