The oarlock supplied with the TEMO·450 is one of the reasons why our electric motor is so maneuverable and easy to install. Today, we present a short tutorial to show you how to install a TEMO oarlock on a rigid inflatable boat.
In the video, we install The oarlock interface on a 3D TENDER model that has a wooden transom. To do this, you will need the screw pack that comes with your TEMO·450 , a screwdriver, and of course, the oarlock itself.
| Important: First, check that you can drill through your transom. Do not drill through a transom designed to provide a watertight seal . In this case, you must use a wooden board or other support. There is no problem with the 3D TENDER's transom, as it is made of wood with a plastic backing. |

In the bag of screws provided, you will find self-drilling and through-screws . If you have a wooden board, the self-drilling screws will be perfectly adequate.
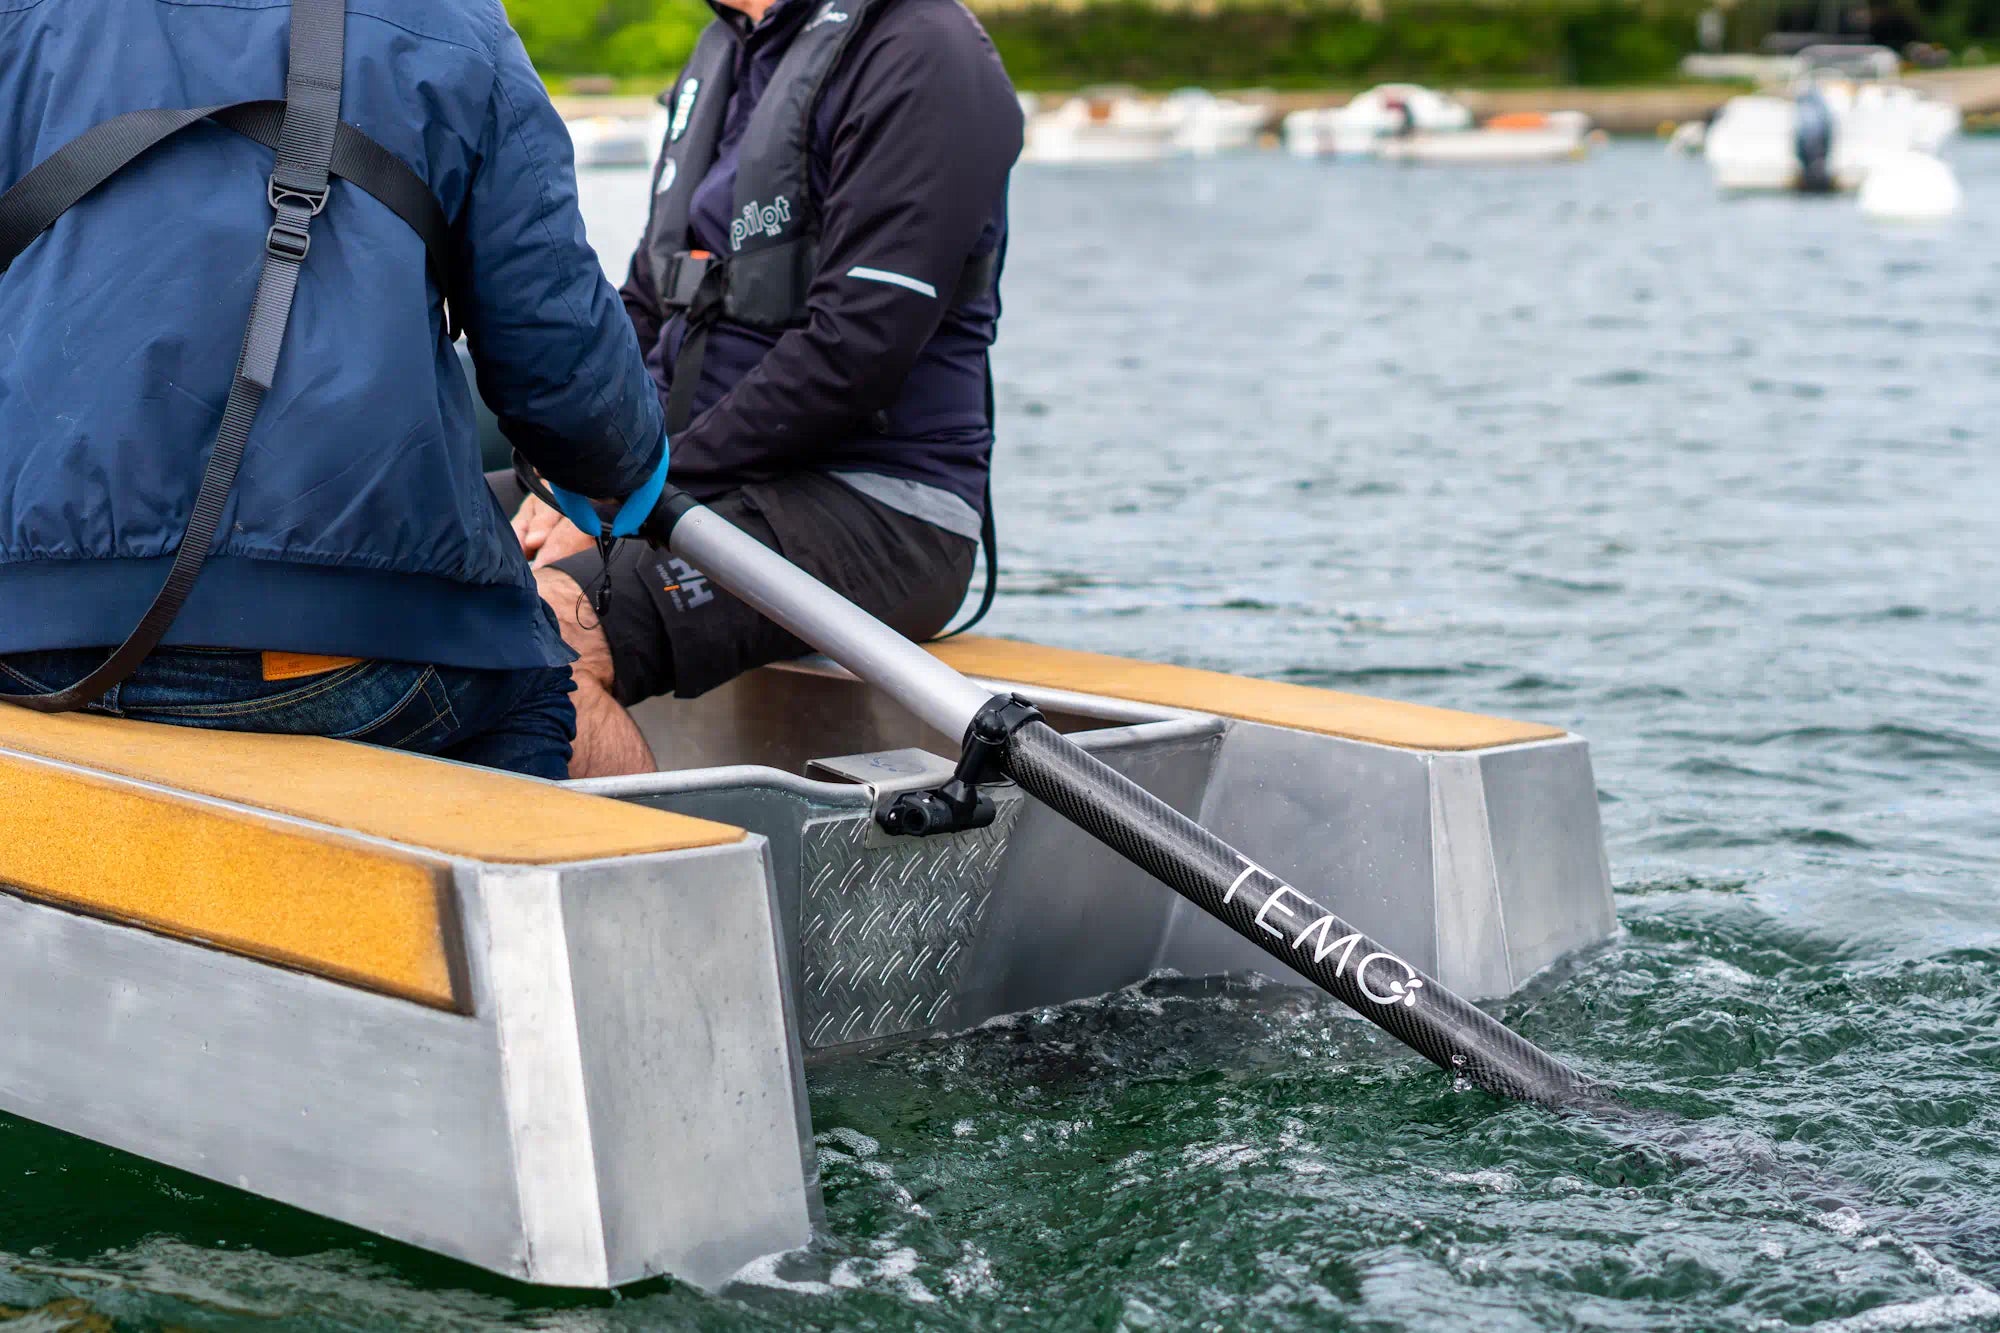
Next, the positioning of the oarlock interface on the dinghy is very important . Do not position the interface on the top of the dinghy (when possible) because you will give the TEMO·450 an unnecessary angle.
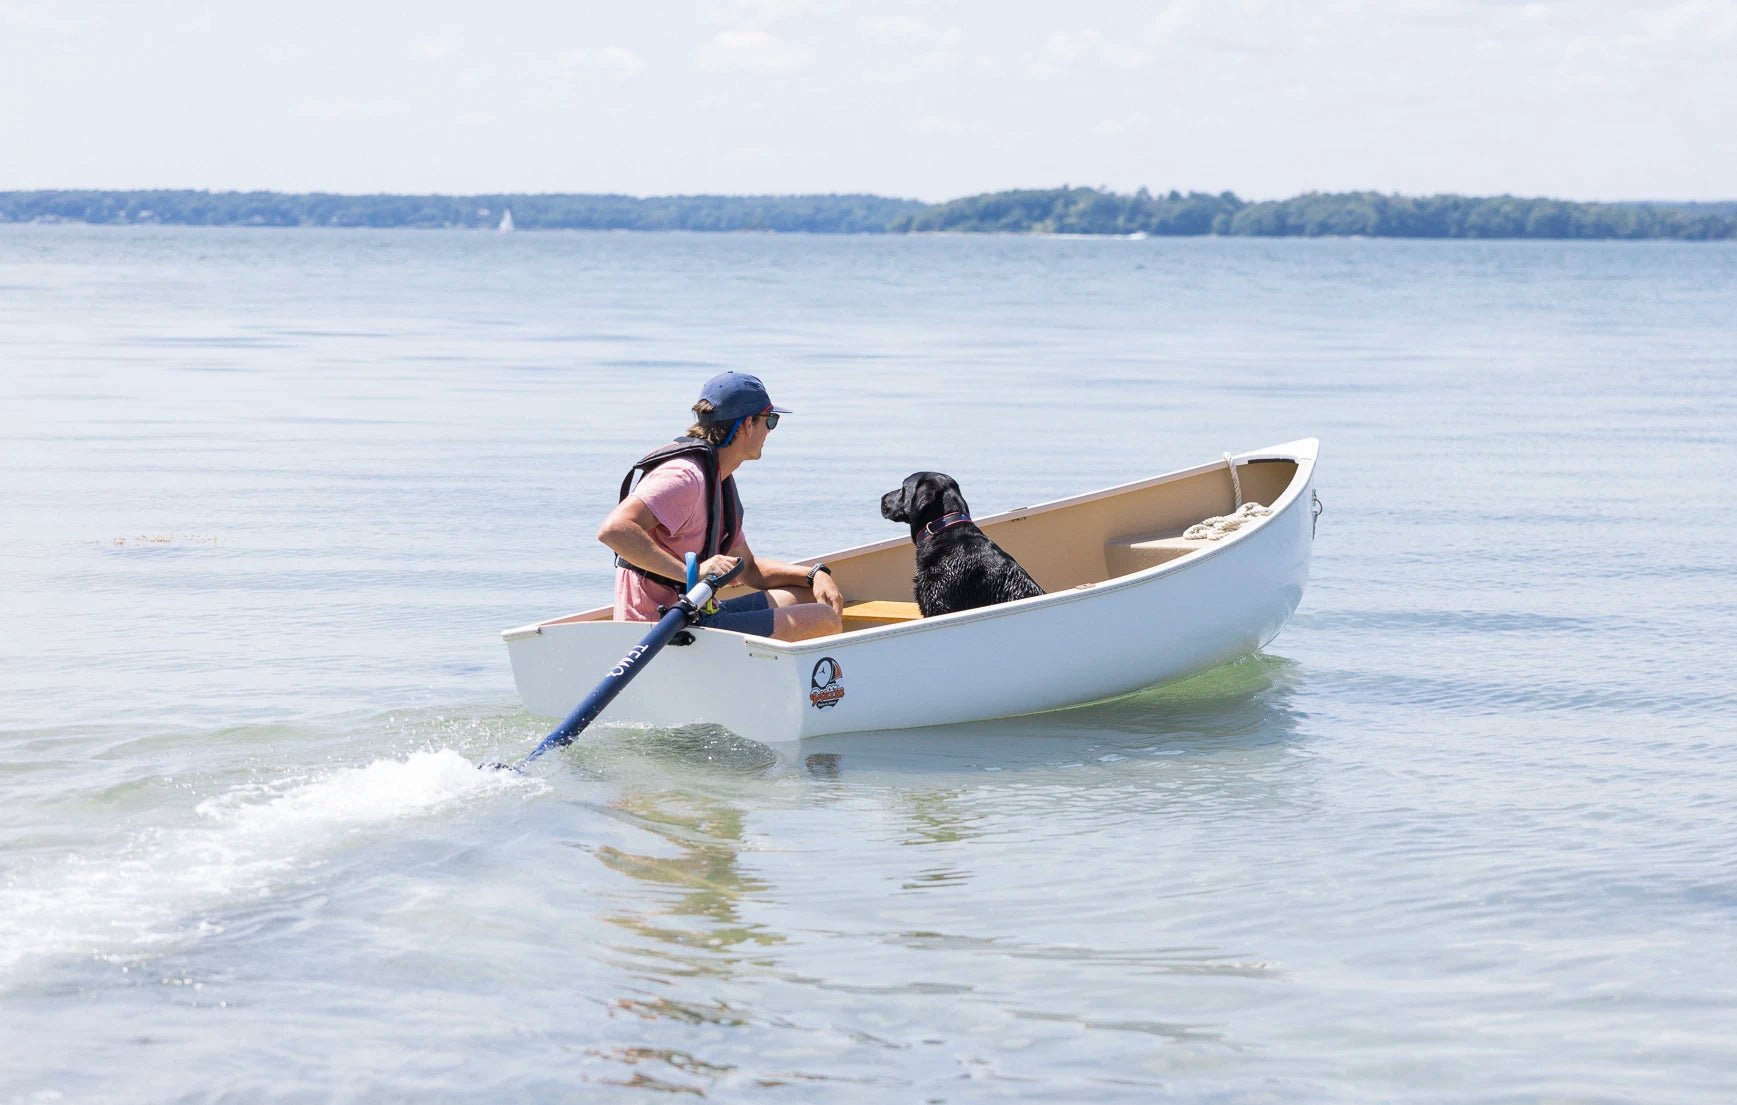
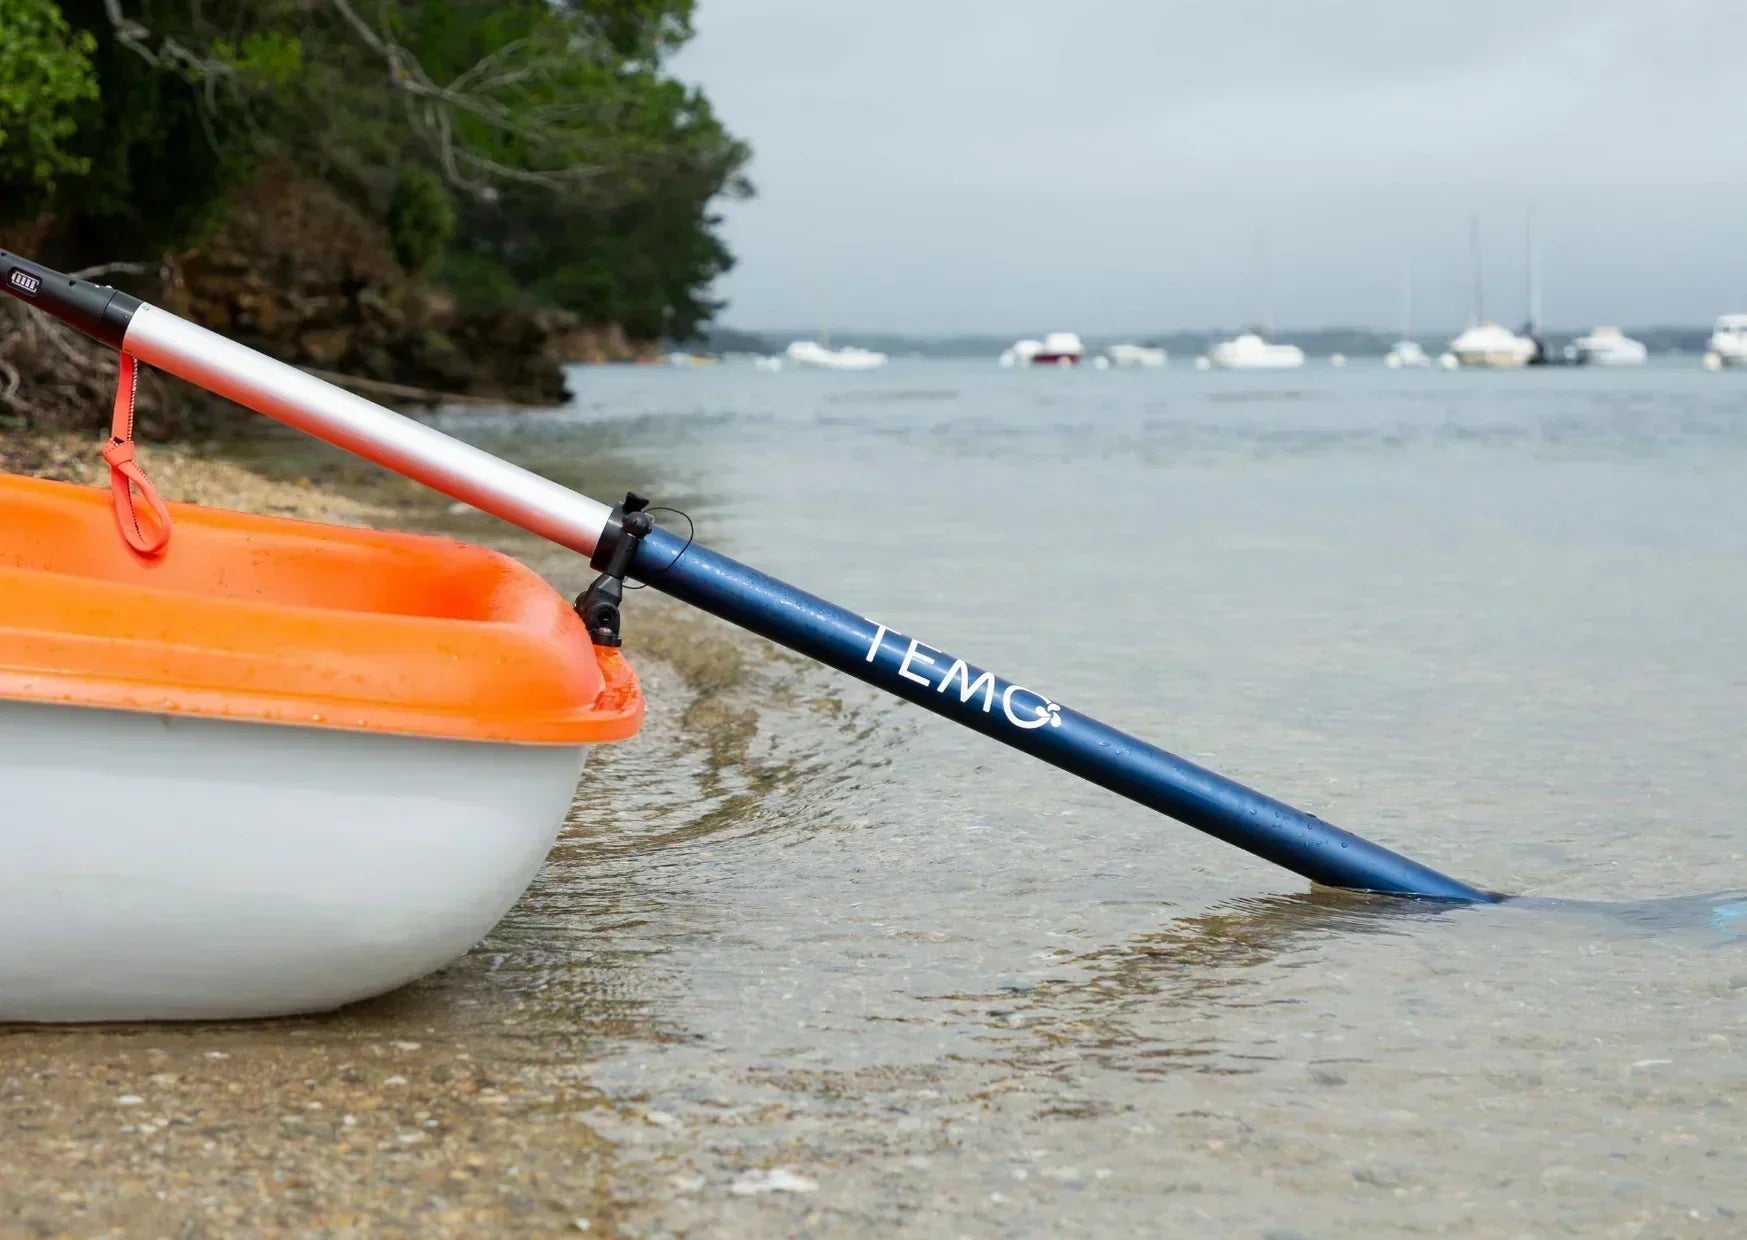
Position yourself at the top of your board and ensure that the TEMO·450 can be raised horizontally to lift the propeller out of the water when you arrive at the beach.
| Our advice: do a few tests before mounting it. Find the ideal position where you are most comfortable operating the motor. You don't have to mount it in the center of the rear panel; this can provide additional clearance. |
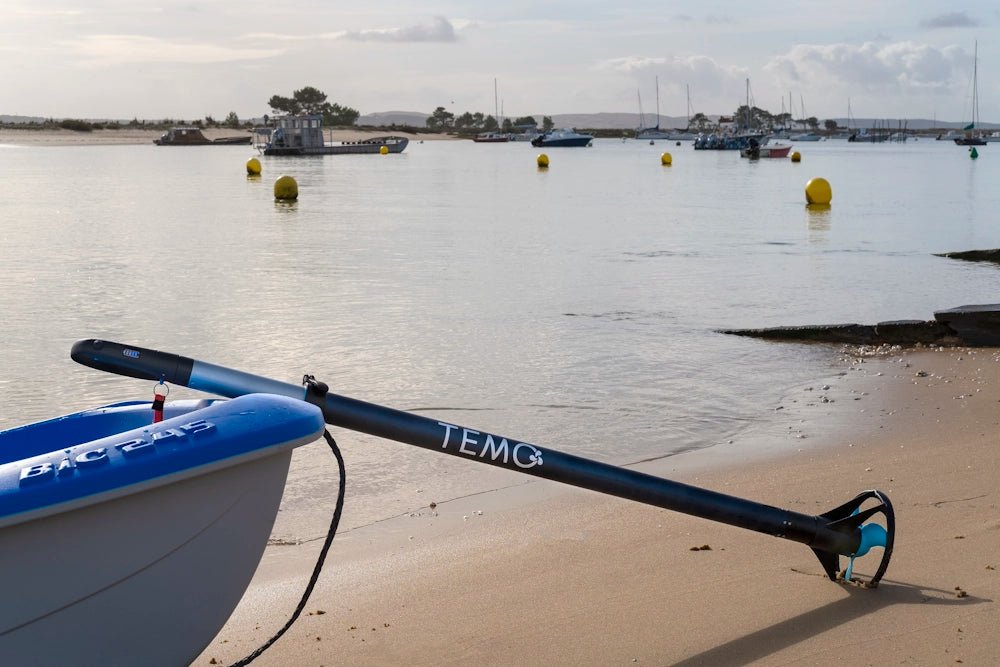
| The oarlock allows you to properly raise the TEMO·450 to a horizontal position and lower it into the water correctly. The rotating point gives the electric motor a wide range of motion from side to side . Finally, the locking knob secures the motor once it's installed. That's it, you're ready to go! |  |