Winterizing is a crucial step for all nautical equipment, and electric motors are no exception.
Protecting your engine during the colder months limits the effects of corrosion, preserves the battery, and contributes to increased longevity. With proper maintenance, you can set off again in the spring with a fully functional engine , ready to accompany you on all your new adventures.
List of necessary equipment .
To do this, you will need your TEMO·450 , the magnetic key , the charger , a cloth, a penetrating oil spray such as WD40, an electronic contact protector spray, a screwdriver with a TORX 20 key, and the carrying case. (Optional) for storage. Finally, it is recommended to store your TEMO in a clean and dry place.
Charge the TEMO·450 to 100%.
Now that your TEMO is fully charged, you can see that the four blue bars on the gauge on the handle are lit, as well as the reserve indicator in red. The goal is to discharge your TEMO to 80% of its battery capacity .
It is recommended that the battery level be below 80% and above 30%. Over the winter months, the battery will slowly discharge. Check the charge level every 3 months .
Find information about the TEMO battery in video or on our blog article .
Rinse the engine block.
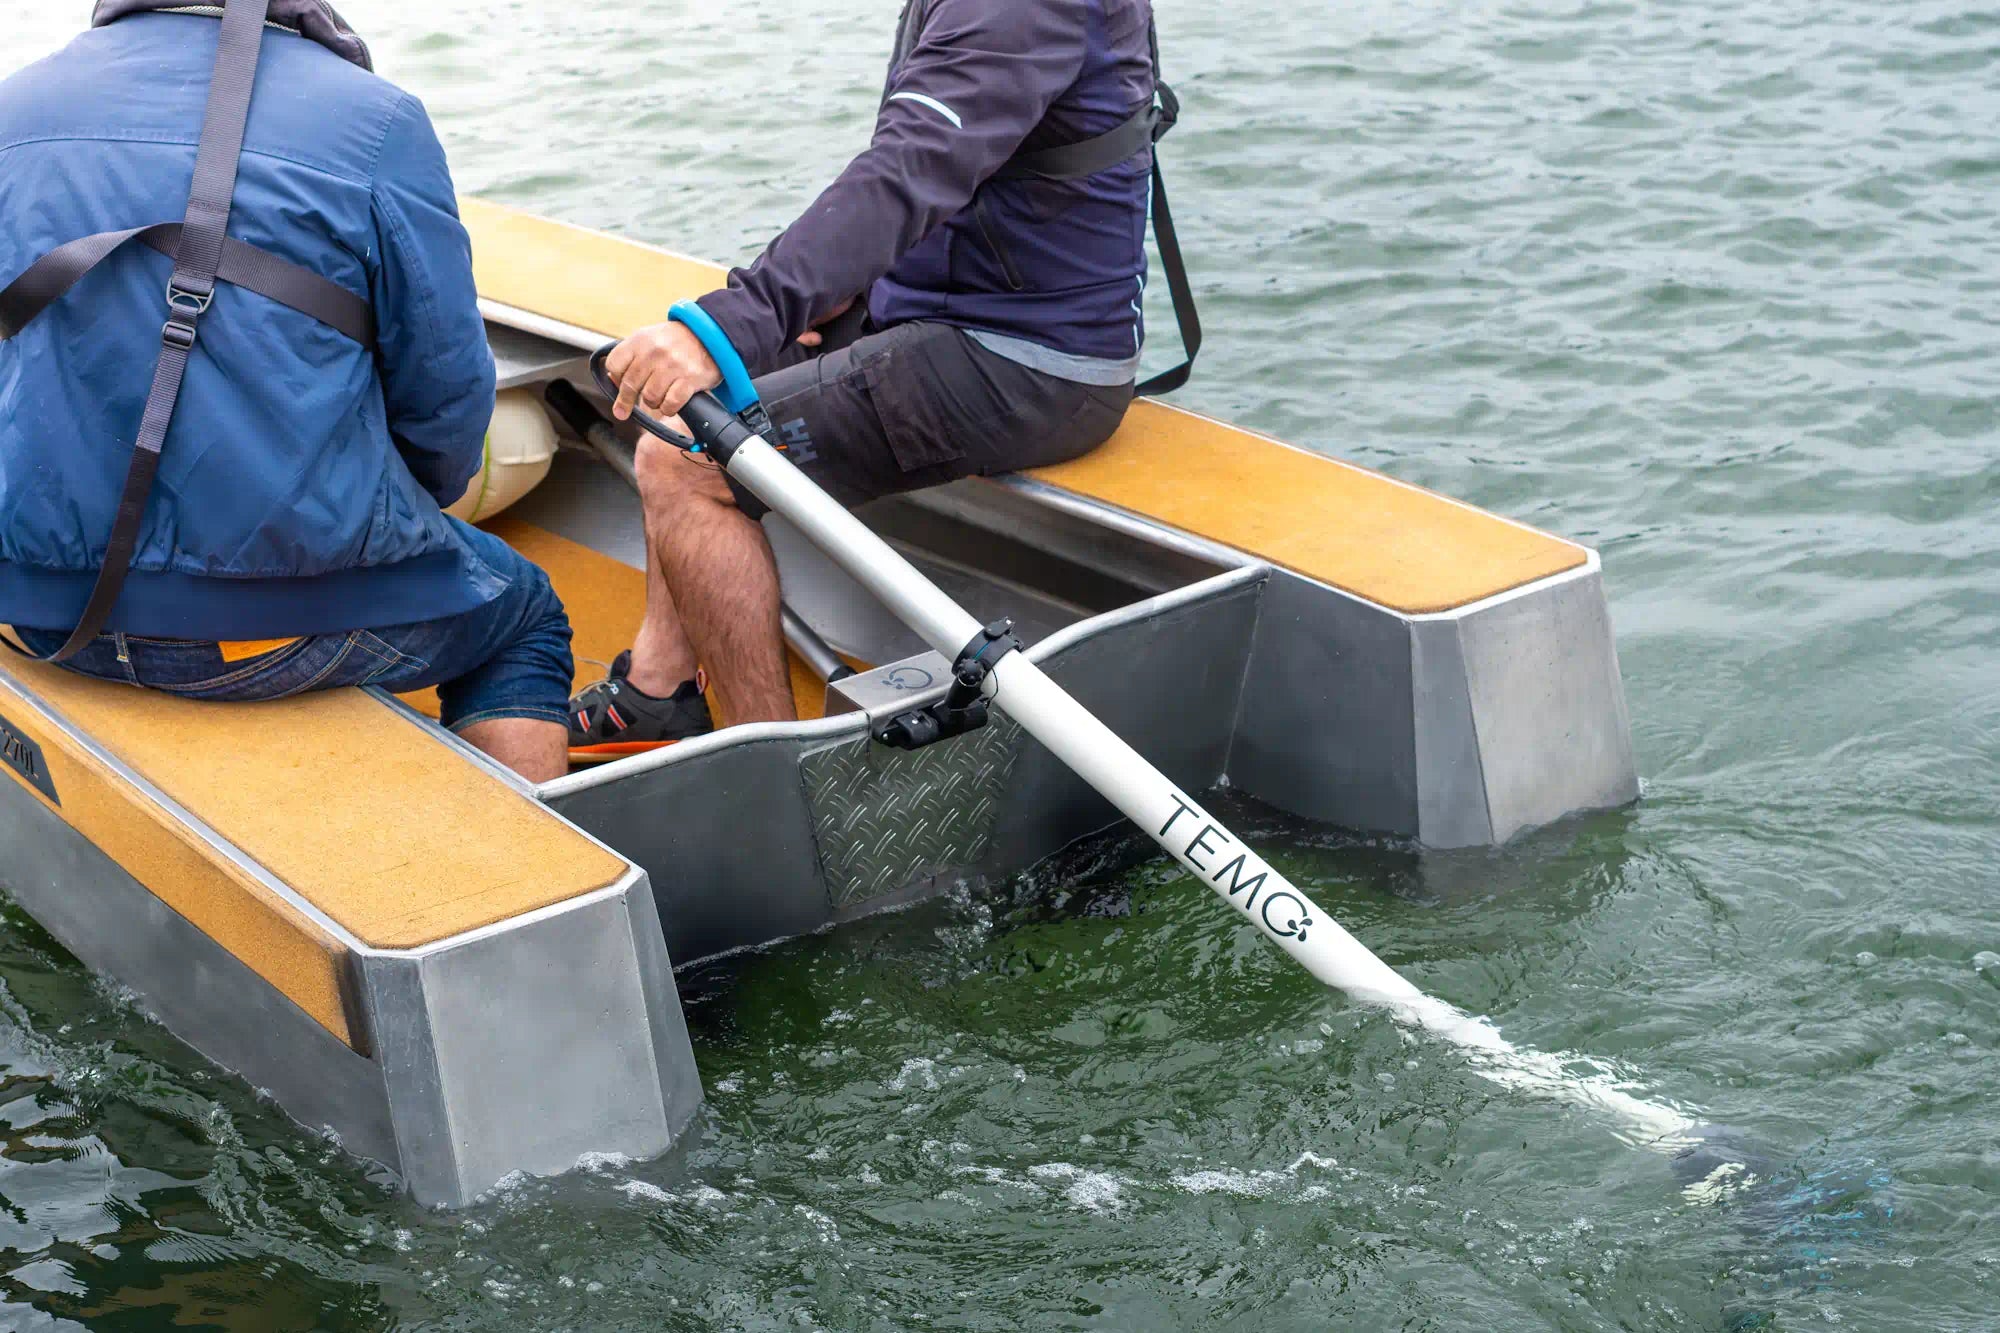
Next, we asked you to fully charge the battery before rinsing your TEMO by running it through fresh water . You can use a large container of water, a bin, or even your bathtub.
|
You'll need to use 20% of the battery to reach 80% for winter storage. This should take about ten minutes. We recommend reversing for at least one minute. You should now only see three blue bars lit on the battery gauge. |
Rinse off the remaining TEMO·450.
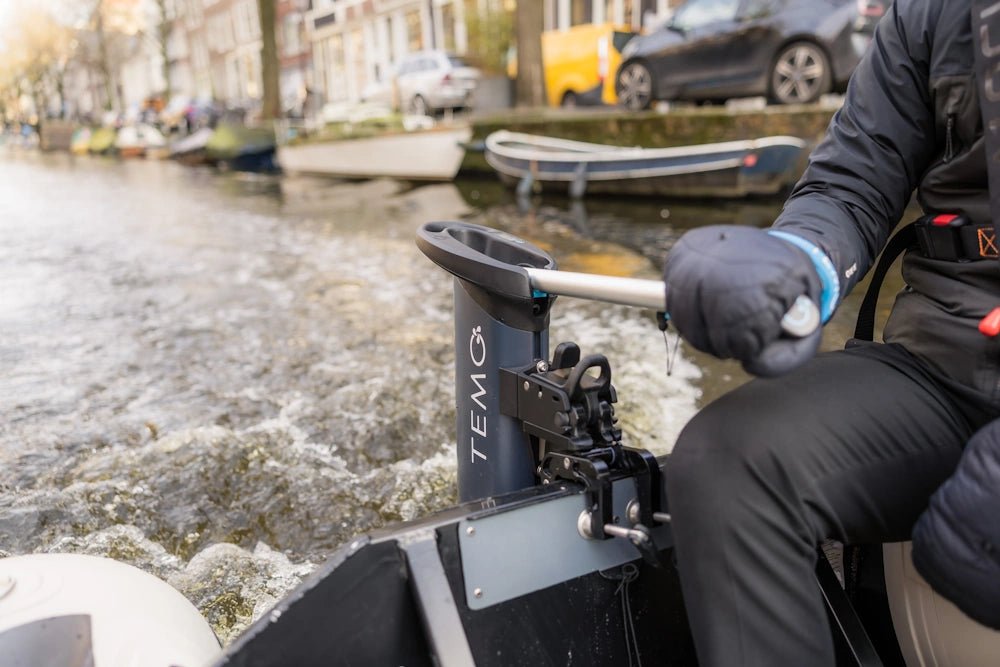
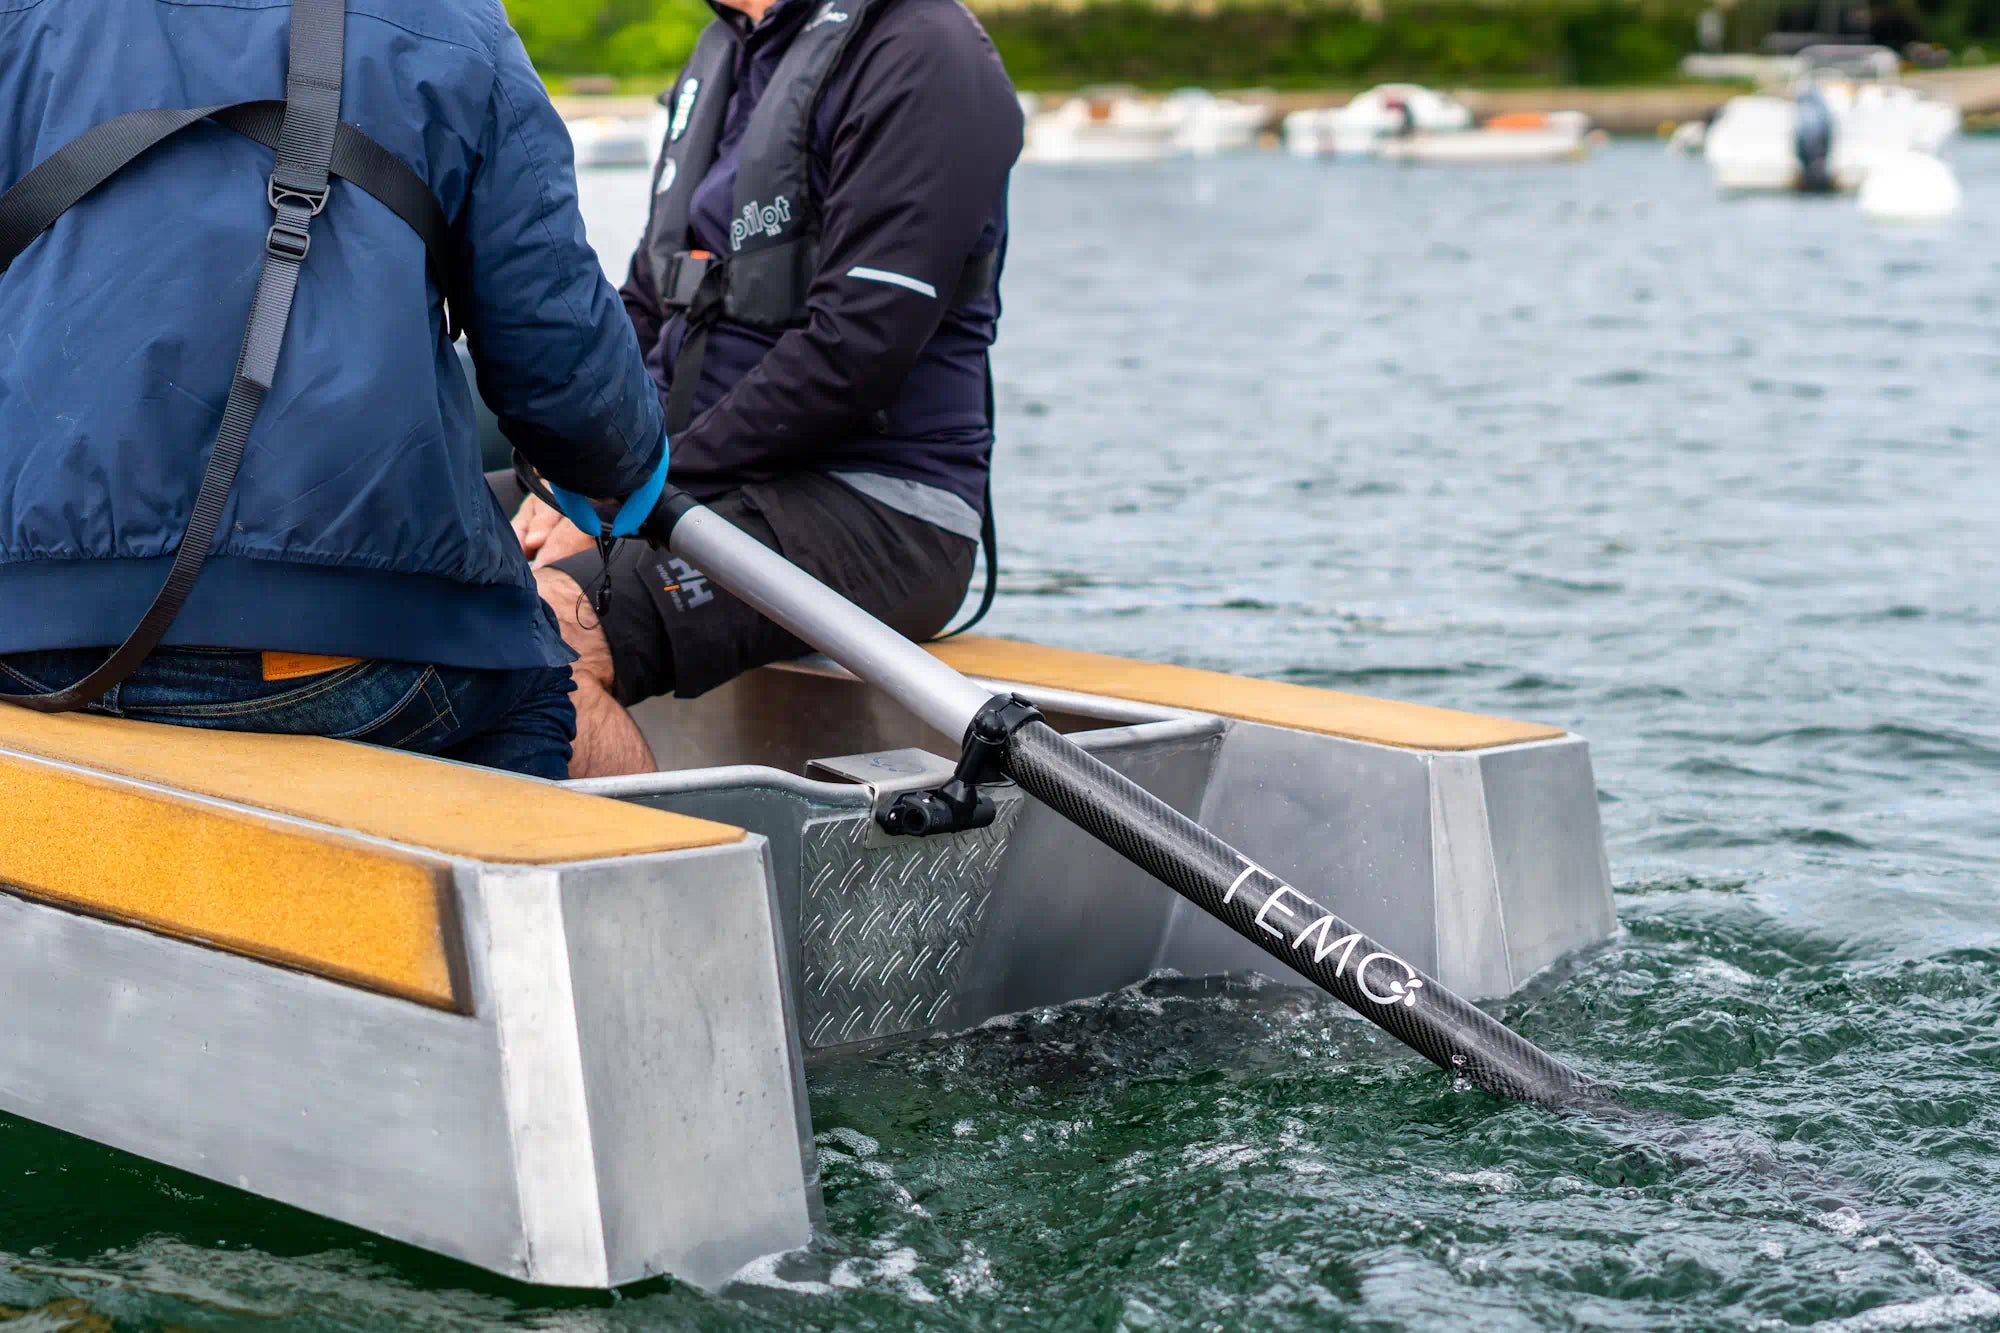
The next step is to rinse the rest of the TEMO. Take a garden hose and don't hesitate to rinse it thoroughly, as the motor is completely sealed .
| From top to bottom, start with the handle (gauge, trigger, reverse button) and the charging cap. Since the cap is waterproof, open it and rinse thoroughly to prevent salt deposits in the electrical contact area. Next, rinse the blue tube and the vents at its base well. Extend the TEMO as far as possible using the telescope. |
Remove the propeller.
You now need to protect the inaccessible parts of your power tool with the water hose.
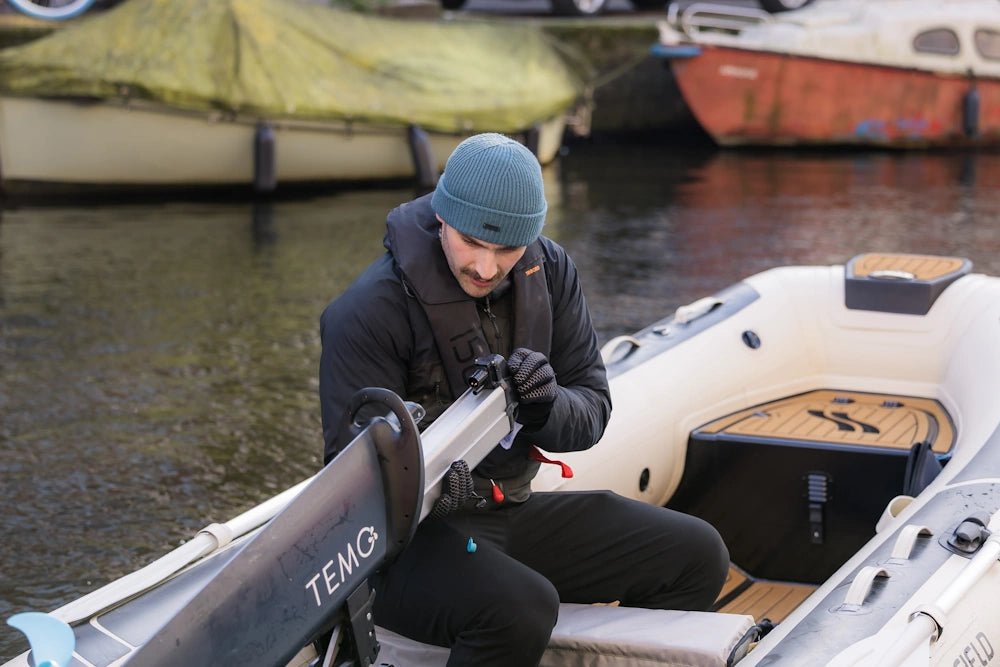
The first step is to dismantle the propeller, to ensure that there is no algae or sand in this area.
|
Protect your hand with a glove while holding the propeller. Simply unscrew the screw located in the middle of the propeller with a TORX 20 key. Be careful not to lose the washer and the pin in the propeller. Carefully remove the propeller to minimize the chance of it falling and being lost. Make sure the motor shaft and surrounding area are clean and apply a shot of WD40 as a precaution. Finally, be sure to properly align the pin in the propeller using the interface provided for this purpose during reassembly. The same applies to the screw and its washer. |
 |
Check out our tutorial on how to change the propeller and nozzle of your engine?
Application of protective sprays.
Start by applying the electronic contact spray to the TEMO·450 charging port. Lift the dust and sand cap and spray inside. Do the same in the handle (small round indentation located on the inside of the handle, opposite the grip).
Don't be shy with the amount to remove as much salt as possible. As a precaution, you can even apply some to the sides of the blue trigger. Then simply apply it to the vents at the bottom of the blue tube.
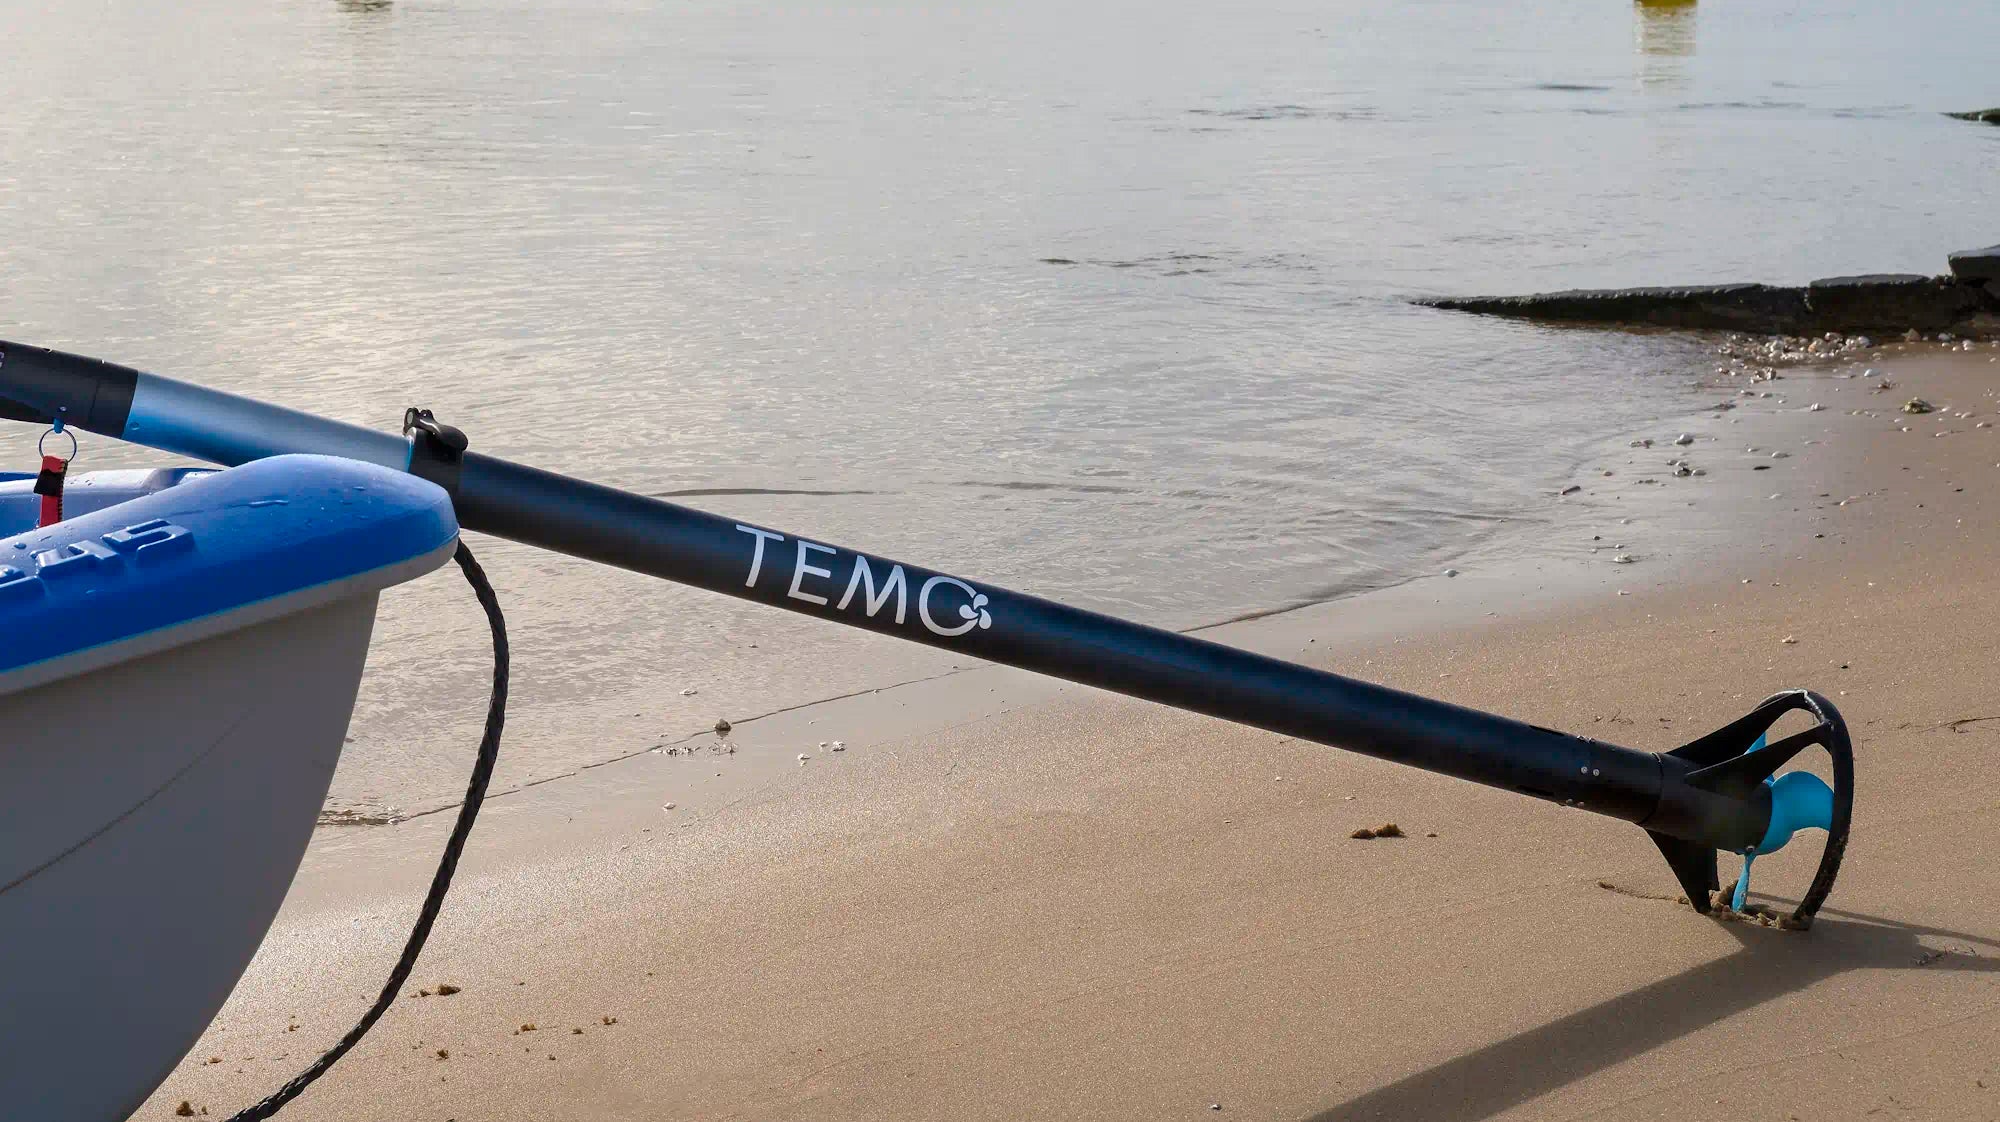
The final step involves applying WD40 to the telescope area and the gray tube. Ensure the telescope is functioning correctly and wipe off any excess WD40. Do the same for the hose clamp and screws at the bottom of the blue tube, as well as those at the top of the black motor block. Finally, a carrying case is highly recommended for all storage and transport activities.
And there you have it, your TEMO is ready for winter.
In summary, charge the battery to 100% capacity and run the motor in fresh water for 9 minutes. Rinse the TEMO thoroughly and remove the propeller. Apply electronic contact cleaner spray to the charging port, handle, and air intakes. Finally, do the same with WD40 on the gray tube, the hose clamp, and the screws at the bottom of the blue tube.